
A Step-by-Step Guide to Cleaning Your Bathroom, Straight From the Experts
Your bathroom probably looks clean. But according to the people who study mold spores, airborne bacteria, and the invisible grime hiding in your grout lines, appearances can be deceiving. The gap between a bathroom that looks clean and one that actually is? It comes down to method, timing, and a few techniques that most cleaning routines miss entirely.
Here’s what mold specialists, cleaning company executives, and home care journalists say you should be doing differently.
How often you actually need to deep clean
A quick wipe-down after your morning routine is one thing. A real deep clean is another. So how often does the latter need to happen?
“It’s generally recommended to deep clean your bathrooms at least once a month, but the frequency will depend on factors such as the size of your household, the frequency of bathroom use, and the level of traffic your bathroom receives,” explains Alicia Sokolowski, president and co-CEO of AspenClean to Food52.
That monthly cadence is a baseline. Sokolowski adds a useful rule of thumb: “If you notice buildup or grime accumulating in your bathroom, it may be time for a deep clean—regardless of how much time has passed since the last one.”
The takeaway: schedule it monthly, but trust your eyes. Waiting for visible buildup means you’re already behind.
Start with a HEPA vacuum (yes, really)
This is the step most people have never considered. Before you reach for a spray bottle, Michael Rubino, mold and air quality expert and founder of HomeCleanse, told Food52 that you should vacuum the bathroom first, and with a specific type of machine.
“Use a HEPA vacuum in the room,” recommends Rubino. “The filtration portion of the machine is what sets HEPA vacuums apart. While other machines will filter out the majority of smaller particles, they don’t have the capability to stop some of those ultra-fine and microscopic particles like mold spores.”
Think about that for a second. A standard vacuum pushes mold spores right back into the air. A HEPA-filtered vacuum actually traps them. If you’re deep cleaning a bathroom without this step, you might be redistributing contaminants rather than removing them.
Let your cleaning products do the work
Once you’ve vacuumed, apply your bathroom cleaners and then step away. Sokolowski recommends a deliberate pause: “Allow the bathroom cleaner and the solution in your toilet bowl to sit for several minutes to dissolve any dirt or grime.” While you wait, use the opportunity to clean your shower liner or other accessories that you removed from the bathroom.
This isn’t passive waiting. It’s strategic. The chemical reaction needs time to break down buildup, and those few minutes are better spent tackling other tasks than scrubbing prematurely.
Dust high to low (and don’t forget your toilet brush)
Mary Catherine McAnnally Scott laid out a specific sequence in an article for Southern Living that prevents you from re-dirtying surfaces you’ve already cleaned.
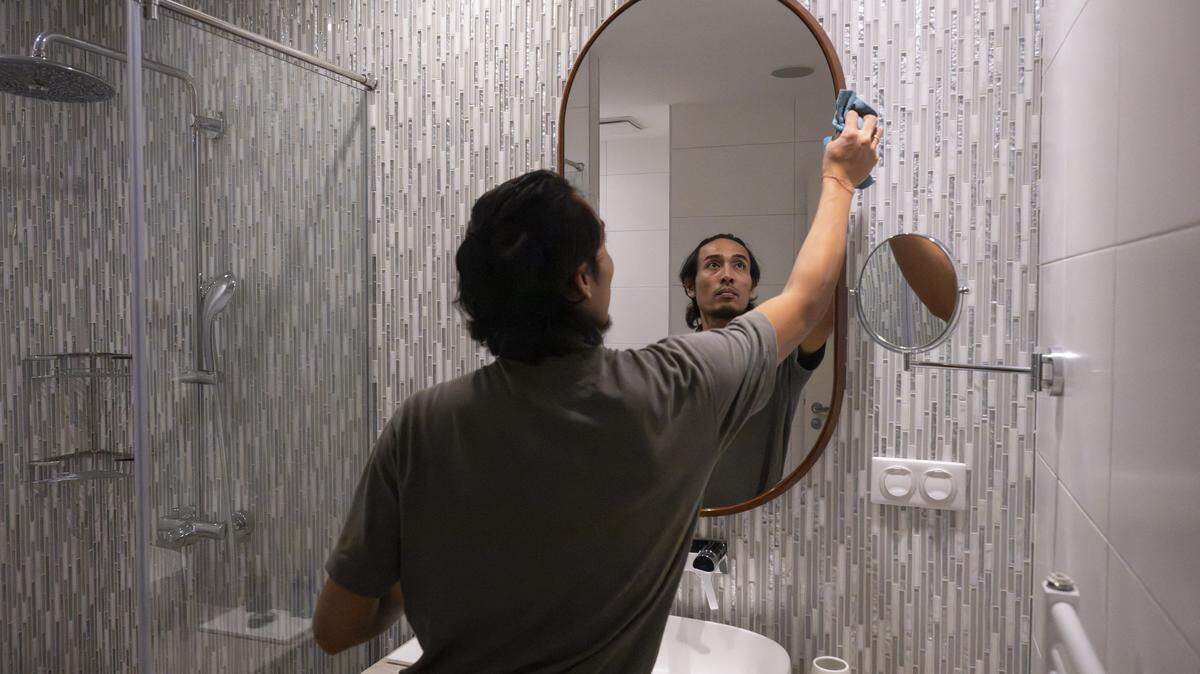
“While your disinfectant is working hard to lift stains and grime, start dusting. Follow this rule: high to low. Begin with the light fixtures, then use your glass cleaner to wipe away any stains or dried on toothpaste from your mirrors. Wipe down your countertop with your favorite disinfectant wipe, avoiding the sink basin (we’ll get to that next!). Dust all the way down to the baseboards, removing all tiny particulate from the surfaces of your bathroom.”
The logic is straightforward: dust falls. Clean the ceiling fixtures first, and by the time you reach the baseboards, you’ve caught everything gravity brought down along the way.
Scott also shares one of the more clever cleaning hacks you’ll find for a bathroom tool most people neglect entirely, the toilet brush: “Spray your disinfectant all over the head of your toilet brush. Then, using a kettle or just a pot on the stove, bring a few cups of water to a boil. With your toilet brush still sandwiched between the seat and the toilet bowl (the head should be hanging directly over the toilet bowl), slowly pour boiling water over the head of the brush to remove any unwanted debris trapped in the bristles. Rotate the brush as you pour for a super effective, thorough clean.”
The shower curtain and glass door fix
Your shower enclosure collects soap scum, mildew, and mineral deposits constantly. The cleaning method depends on what you’re working with.
Nicole Sforza and Lisa Milbrand wrote in Real Simple that for plastic curtains and liners, the approach is simpler than you’d expect: “if you can, give plastic shower curtains and liners a spin in the washing machine with your regular detergent and a few old towels, which help scrub away soap scum and mildew. Rehang to dry.”
The old towels are the detail worth noting. They act as gentle abrasives inside the drum, doing the physical scrubbing that water alone can’t.
Glass shower doors require a different approach: “make a paste by adding a few drops of distilled white vinegar to a cup of baking soda; apply it directly to the door (it’s nice and thick, so it will stick). Let sit for an hour, then rub with a microfiber cloth. Rinse and buff dry with a fresh, dry microfiber cloth. As a preventive measure, routinely spritz all surfaces with a shower cleaner to keep odors, soap scum, hard water stains, mold, and mildew at bay.”
That hour of dwell time matters. The baking soda paste is thick enough to cling to vertical glass, so the vinegar can dissolve buildup without sliding off.
Grout: the surface everyone ignores
Tile grout absorbs moisture, stains, and bacteria. Real Simple recommends a direct approach: “Dip a grout brush or an old toothbrush in straight bleach and scrub any discolored areas; rinse well. Be sure to ventilate the room.”
An old toothbrush works because the bristles are small enough to reach into grout lines that a sponge or cloth would glide right over.
Your toilet is dirtier than it looks
Here’s the part that might change how you think about flushing. Real Simple reports that ”a flushing toilet, when viewed in slow motion, resembles a fireworks display. And since germs linger in the bowl even after flushing, bacteria, such as E. coli and salmonella, can fly into the air and land on the seat, the handle, and other surfaces.”
The cleaning fix is low-tech: “Pour a cup of baking soda into the bowl. Let sit for a few minutes; brush, and flush. Still seeing spots? A damp pumice stone is abrasive enough to remove limescale and mineral deposit stains but gentle enough not to damage surfaces.”
Remember, the bathroom that looks clean and the bathroom that is clean are two different things. These methods close the gap.
Production of this article included the use of AI. It was reviewed and edited by a team of content specialists.